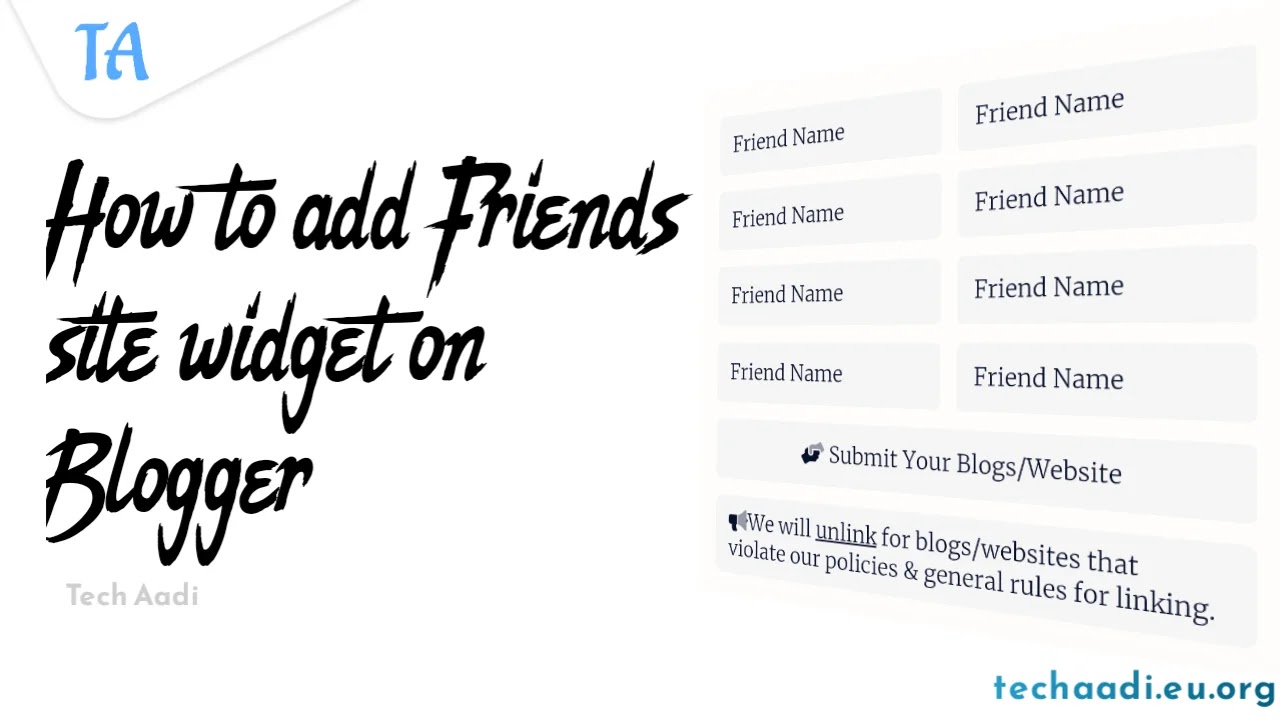
Hello friend's how are you I hope you are doing great. Most of you somehow noticed on many of blogs they have friends site widget or Partner site widget in below of their site.

So today we are going to learn How to Add Friends Site Widget in Blogger or Median Ui.
Basically Friends site widget is a very beneficial wdiget to have. I too have this widget in below of my blog. It will not only help in getting views but also it somehow ranks your website in Google.
So let's start the process of installation.
Adding Friends Site Widget On Median Ui
Before Following the below method do backup your template for any kind of error and easy restore.
There are two steps to follow for the friends site widget for your blog. Kindly have patience and read till the end.
STEP 1
Adding CSS
- Open your Blogger dashboard.
- Click on theme section and then edit HTML.
- Now search for
</style>tag. - And copy the below given two CSS just above
</style>tag.
  /* Friend Sites */
#friend-link{padding:0;margin:0;list-style:none}
.friendLink{display: flex;flex-wrap: wrap;list-style: none;margin: 0;padding: 0;position: relative;width: calc(100% + 10px);left: -5px;right: -5px;font-size: 13px;}
.friendLink li{width: calc(50% - 10px);margin: 0 5px 10px;}
.friendLink a{background: #f6f6f6;display:block;color:inherit;width:100%; padding:8px 10px;border-radius:4px;line-height:20px;overflow:hidden;text-overflow:ellipsis;white-space:nowrap}
.friendLink a:hover{color:var(--linkC)}
.darkMode .friendLink a{background:rgba(0,0,0,.15);color:inherit}
.darkMode .friendLink a:hover{color:var(--darkU)}
.friendsRules {margin:0;padding:0;line-height:normal;display:block;float:left;background-color:#f6f6f6;font-size:13px;margin-top:-1px;margin: 0 0 8px 0;padding:7px 10px;border-radius: 6px}
.darkMode .friendsRules {background-color:rgba(0,0,0,.15)}
/* Rung rinh */
.rung {animation: rung-lac 2s ease infinite;}
@-webkit-keyframes rung-lac {0% {-webkit-transform: rotate(0) scale(1) skew(1deg);}
10% {-webkit-transform: rotate(-25deg) scale(1) skew(1deg);}
20% {-webkit-transform: rotate(25deg) scale(1) skew(1deg);}
30% {-webkit-transform: rotate(-25deg) scale(1) skew(1deg);}
40% {-webkit-transform: rotate(25deg) scale(1) skew(1deg);}
50% {-webkit-transform: rotate(0) scale(1) skew(1deg);}
100% {-webkit-transform: rotate(0) scale(1) skew(1deg);}}Change the marked park of .darkMode CSS as per your theme CSS.
STEP 2
Adding HTML
- Now open your Blogger dashboard.
- Go to layout section.
- Now click on add a gadget. ( A popup will open)
- After popup click on HTML/JavaScript.
- Now give a title.
- And copy the below given HTML code and paste it in content section.
<div id="friend-link">
<div class="friendLink">
<li><a href="friend-link" target="_blank" title="friend-title">Friend Name</a></li>
<li><a href="friend-link" target="_blank" title="friend-title">Friend Name</a></li>
<li><a href="friend-link" target="_blank" title="friend-title">Friend Name</a></li>
<li><a href="friend-link" target="_blank" title="friend-title">Friend Name</a></li>
<li><a href="friend-link" target="_blank" title="friend-title">Friend Name</a></li>
<li><a href="friend-link" target="_blank" title="friend-title">Friend Name</a></li>
<li><a href="friend-link" target="_blank" title="friend-title">Friend Name</a></li>
<li><a href="friend-link" target="_blank" title="friend-title">Friend Name</a></li>
<li style="width: 100%;"><a href="link-articles" style="display: block; text-align: center;" target="_blank" title=" Submit Your Blogs/Website"><i class="fad fa-hands-helping rung"></i> Submit Your Blogs/Website</a></li>
</div>
<div class="friendsRules"> <i class="fad fa-bullhorn rung"></i>We will <u>unlink</u> for blogs/websites that violate our policies & general rules for linking.</div>
</div>Change freind-link with your friends site url and friend-title with the title of your friend and friend-name with your friend name to show on blog.
After adding all this if your icon is not working then please add the below Font Awesome icon code on your template.
Font Awesome
Copy the below code and paste it just below the<head> section in your template.<link rel="stylesheet" href="https://pro.fontawesome.com/releases/v5.10.0/css/all.css" integrity="sha384-AYmEC3Yw5cVb3ZcuHtOA93w35dYTsvhLPVnYs9eStHfGJvOvKxVfELGroGkvsg+p" crossorigin="anonymous"/>
Now after adding all the steps I hope you have successfully installed all the Friends Site Widget on your blogger blog.
Conclusion
So today we have discussed about how to add friends site widget on median ui or blogger. I hope you like this post kindly do give a comment below. If you are having problem implementing this kindly contact me. Do visit regularly for getting more updates like this.